The Adafruit Raspberry Pi Cobbler is a nice breakout for the Raspberry Pi GPIO designed to connect to a breadboard. While not expensive (US$7.95) shipping simple electronic devices to Mexico can double it’s price due shipping and it may take several weeks to be delivered. So I decided to make one from components I could get easily here.
Components:
- 25 cms of 26 pin ribbon cable
- Two female 26 headers for ribbon cable (press connectors)
- One generic protoboard
- One strip of break away headers with 26 pins
- One strip of break away headers with 26 double pins
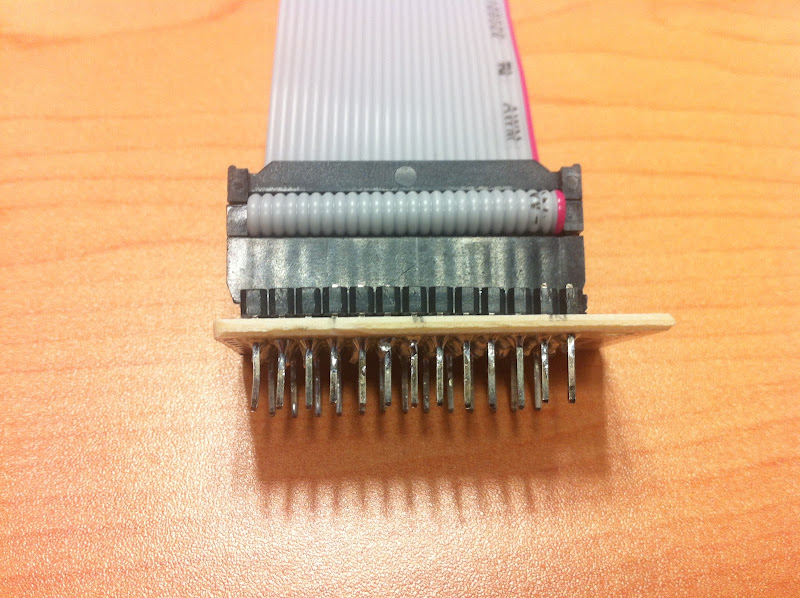
First, build the ribbon cable following Gert’s instructions.
Now, take a look at the protoboard I got from Steren. Looks like a solderless breadboard. Notice that each row the left side of the vertical tracks has two single point pads while the right side has three. I used the side with two pads, and inserted the row of double pins on them. The ribbon cable will be connected to this headers.

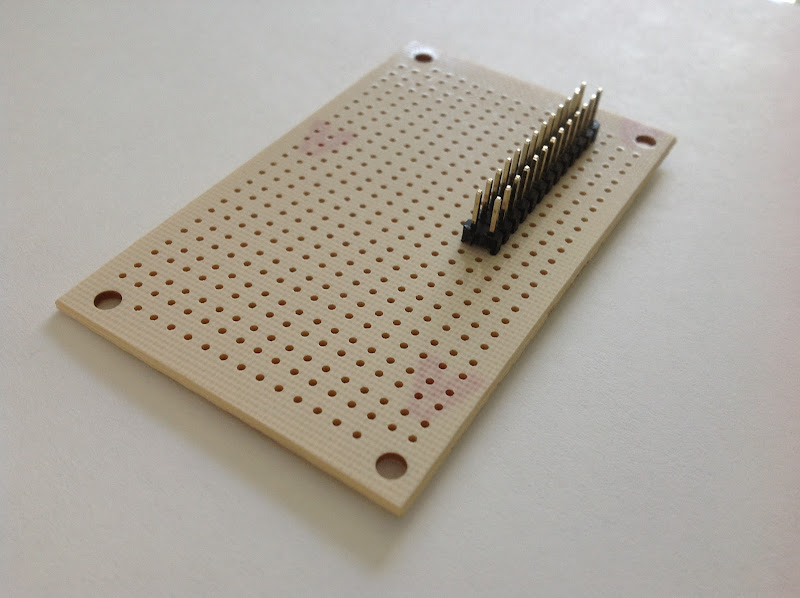
The single pin headers will connect the protoboard with the breadboard. As this terminals have to be longer and must be soldered on the copper side of the breadboard, I inserted them upside down and then pushed them from the top just to the plastic to make them as long as they can on the bottom side.

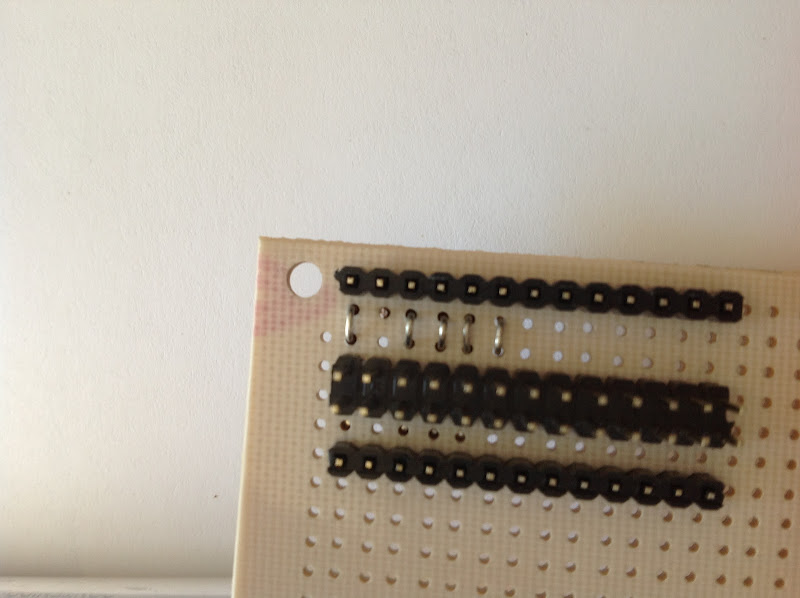
Given the odd layout of the protoboard, I found easier to put the right side headers one hole farther and put jumpers between the tracks. Check how the solder bridges the up and down facing pins and tracks.

Finally, cut it using a Dremel. I should have done this before the soldering!.